A supplement to Section 6 ‘The hood’ of the book ‘Falconry – aspects of care of the trained falcon and hawk’.
 April 29th, 2025 |
  Author:
 Originally, I was going to include anecdotes to illustrate certain points in the book sourced from my news blogs, my diaries and from memory. The format would have made the book unwieldy and so I opted for a format that concentrated on technique and process supported by nearly 600 hundred photographs. I tried to keep the word count to a minimum and make the format as close as possible to a large Hamlyn paperback. The word count reflects my admiration for those authors who can say things simply in short sentences. Of course, when you are not feeling well sentences tend to be short with no energy for endless qualification. I think that sums up my intent and of course it is for other to judge its effectiveness.
So, I think I will use this news blog at times to offer supplement to the main text of the book. I have already been doing this, but I think the blog now fully reflects my transition from a working falconer to what is a series of articles about the things I see ‘out and about’ thoughts that I have and the maintenance of the birds that I am still flying. I have learned a lot from this process.
In the Section 6 on ‘The hood’ and I quote ‘Sometimes the hood is taken off and the falcon is gently cast off in one movement. It is very important that the plume of the hood with which you hold is not worn and likely to come off leaving the hood on the falcon. This would be a disaster’.
With my own words ringing in my ears, I noticed on the Anglo-Indian hood that I use on ‘Frank’ a lanneret the plume was becoming worn and in need of replacing. I do not like undoing other people’s work but to change the plume some deconstruction was necessary as shown below.
The damaged plume – about to break and so needs to be replaced.

Pulling back and removing the hood makers badge to get to the base of the old plume.

Old plume removed – a new strip of leather is inserted to form the new plume.

New leather strip in place ready for the next step.
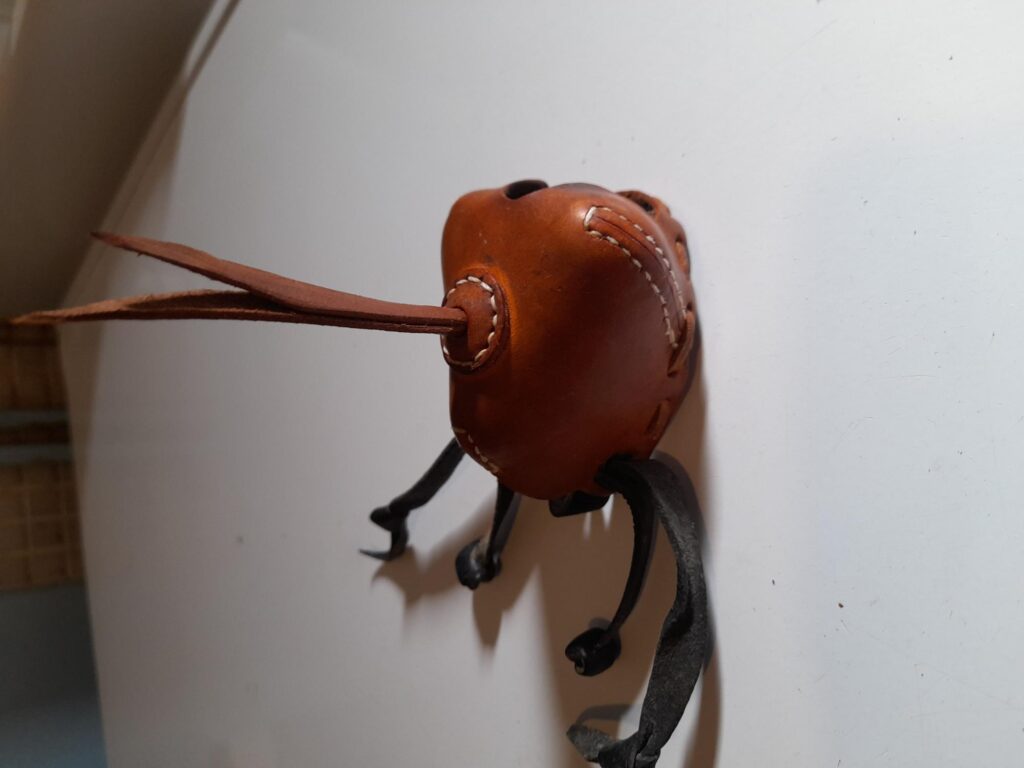
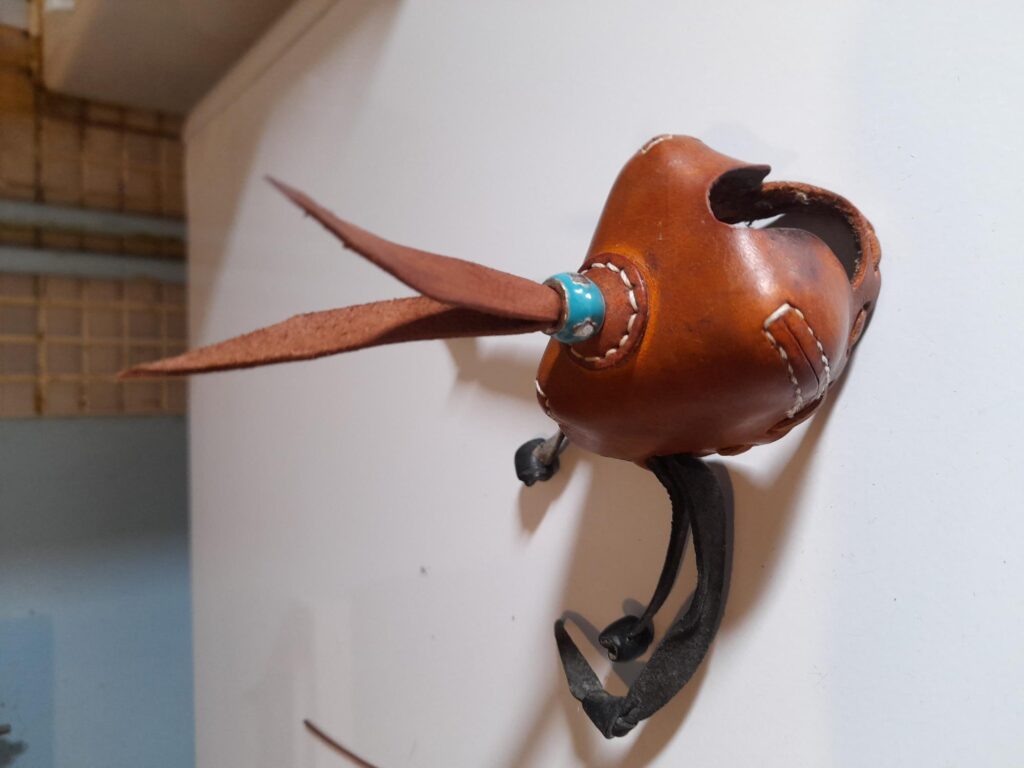
The two ends of the leather strip are pulled through a decorative bead which will hold the plume in place.
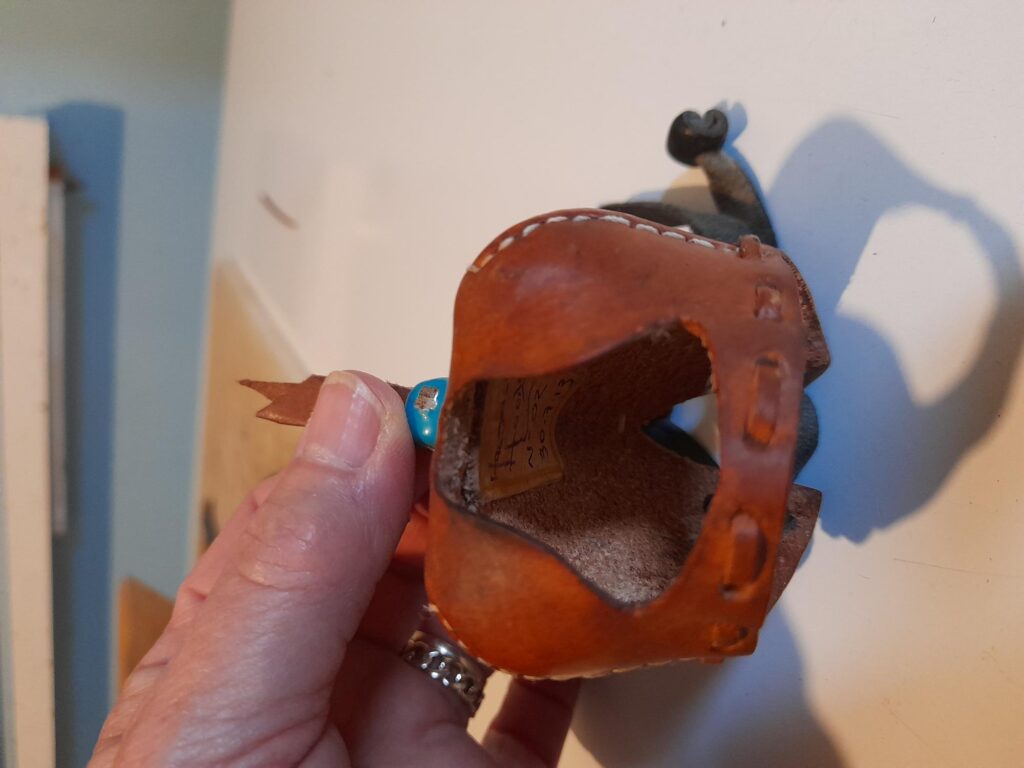
Gluing the hood makers badge back in place. This will obscure base of the plume inside the hood.

All done and the hood hung up on a peg ready for the morning. This a very simple plume. They can be far more ornate and decorative in some hoods.
 Posted in Uncategorized